Pick 7 Hidden Home Improvement DIY Ideas
— 5 min read
Peel-and-stick wallpaper can be applied and removed without damaging walls when you follow a proper prep and removal process. It offers a fast, budget-friendly way to transform a room, especially for renters who can’t paint or tear down drywall.
In 2022, more than 1,300 renters reported using removable wallpaper as their go-to decor hack. The trend has grown because the product promises a paint-like finish without the permanent commitment. Below I walk you through everything you need to know, from selecting the right roll to taking it off without a trace.
Why Choose Removable Wallpaper Over Paint or Traditional Wallpaper
I first tried a bold accent wall in my own apartment with a cheap splash of paint, only to discover a stubborn stain after a month of kids’ art. The lesson? Temporary solutions need to truly be temporary.
Removable wallpaper checks three boxes for renters and DIY beginners:
- Non-permanent: Adhesive is designed to release with gentle heat or steady pulling.
- Minimal prep: Most walls only need a quick clean, no sanding or priming.
- Design flexibility: From geometric patterns to textured looks, you can switch styles seasonally.
According to a recent Wirecutter review, the top three removable wallpapers scored above 8 out of 10 for ease of removal, making them safe for most painted drywall.
Key Takeaways
- Prep walls with a mild cleaner; avoid oil-based products.
- Use a utility knife and a ruler for precise cuts.
- Heat with a hair dryer to loosen stubborn edges.
- Test removal on a hidden spot before full take-down.
- Top picks cost $30-$55 per roll and remove cleanly.
| Brand | Price per Roll | Removal Rating* |
|---|---|---|
| NuWallpaper | $35 | 9/10 |
| Tempora | $45 | 8.5/10 |
| WallPops | $30 | 9/10 |
*Ratings based on ease of removal and wall-surface integrity after take-down, per Wirecutter testing.
Tools & Materials You’ll Need
When I set up my first wallpaper project, I was tempted to grab every tool in the house. In reality, a focused kit keeps costs low and the job smoother.
Here’s my go-to list, complete with cost estimates:
- Peel-and-stick wallpaper roll - $30-$55 per roll (average 20-sq-ft coverage).
- Utility knife - $8. A retractable blade lets you cut cleanly without extra safety gear.
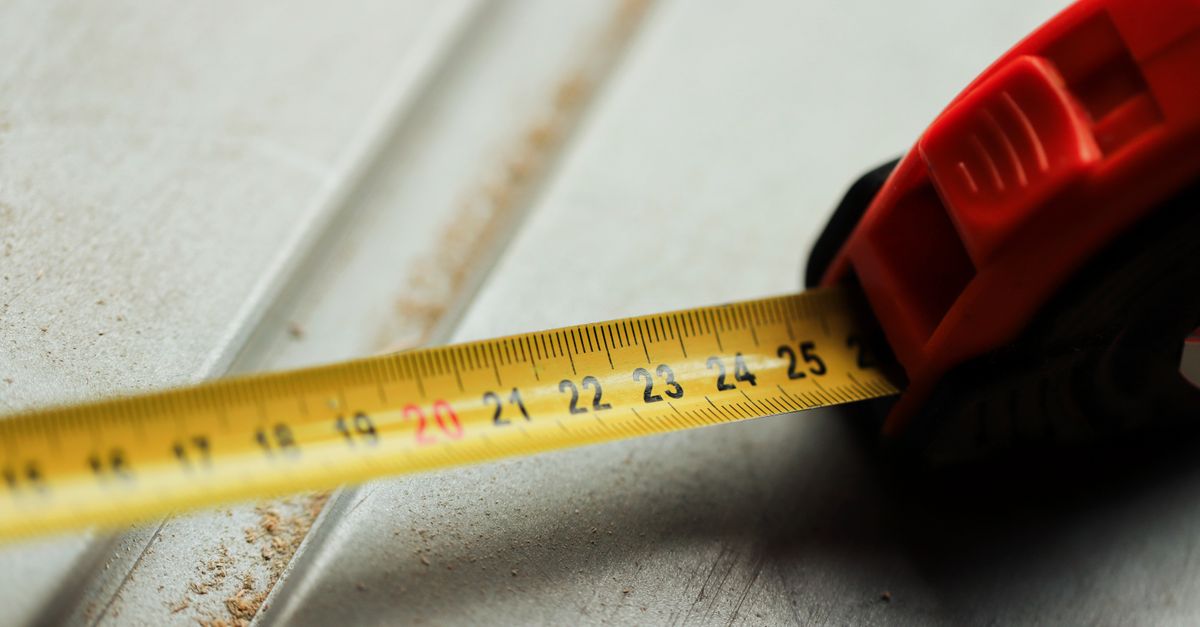
- Measuring tape (25-ft) - $5. Ensures accurate length for each strip.
- Level or laser line - $12. Prevents crooked seams.
- Smoothing squeegee - $10. A rubber-edged tool pushes out bubbles.
- Hair dryer - $15 (or use a heat gun if you have one). Warmth loosens adhesive during removal.
- Clean cloth and mild dish soap - $3. Pre-cleaning removes dust that can trap bubbles.
All these items are available at big-box stores or online. If you already own a squeegee for flooring projects, you can repurpose it.
According to Chatelaine’s list of DIY room upgrades highlights wallpaper as a cost-effective makeover that fits within most beginner budgets.
Step-by-Step Installation
My first install felt like laying down a giant sticker - there’s a method to avoid those annoying air pockets.
- Prepare the wall. Wipe the surface with a cloth dampened in a solution of one part dish soap to ten parts water. Let it dry completely. Avoid oil-based cleaners; they leave residues that interfere with adhesion.
- Measure and cut. Use the measuring tape to mark the length of each strip, adding an extra inch for trimming. Cut with the utility knife on a straight edge. For patterned wallpaper, align the repeat before cutting.
- Peel the backing. Start at the top edge, peeling back just a few inches. Do not fully expose the adhesive until the strip is positioned.
- Position the strip. Align the top edge with your level line. Press lightly to tack it in place.
- Smooth out bubbles. Slide the squeegee from the center outward, using firm, even pressure. Work in small sections to keep the adhesive tacky.
- Finish the trim. Use the utility knife to slice excess at the ceiling and baseboard. A steady hand and a metal ruler act as a guide.
- Repeat. Continue the process across the wall, staggering seams by at least 2 inches for a natural look.
For large rooms, I recommend working in 4-ft sections. This reduces the time the adhesive is exposed, which can cause premature sticking.
Once the entire wall is covered, step back and check for any lingering bubbles. A quick pass with the hair dryer on low heat can re-activate the adhesive and let you press the bubble out.
Removing Wallpaper Without Damaging Walls
When my lease ended, I needed to restore the walls to their original paint. The removal process is almost as important as the install.
- Test a hidden corner. Peel back a corner gently. If the paper resists, apply heat with a hair dryer for 10-15 seconds to soften the glue.
- Heat the entire strip. Work in 12-inch sections, holding the dryer a few inches away. Warmed adhesive releases more easily.
- Peel slowly. Pull the paper back at a 45-degree angle. If it stretches, re-heat the area.
- Remove residue. Dampen a cloth with the same mild soap solution and rub any sticky spots. For stubborn glue, a paste of baking soda and water works without harming paint.
- Inspect for damage. Look for any lifted paint or small cracks. Touch-up with a light coat of interior latex paint if needed.
In my experience, the best-rated products from the Wirecutter list leave walls virtually untouched, even after several years of use. The key is gentle, even heat and patience.
Should you notice any paint bubbling, it’s likely the original surface was not fully cured before the wallpaper was applied. In that case, a light sanding followed by a fresh coat of primer resolves the issue.
Cost Breakdown
Here’s a quick snapshot of typical expenses for a standard 12-by-12-ft bedroom (144 sq ft):
- Wallpaper (8 rolls @ $40 each) - $320
- Tools (knife, squeegee, level) - $30
- Cleaning supplies - $5
- Total - $355
Contrast that with a fresh coat of paint, which averages $200 for labor and materials in most markets. The wallpaper route gives you a high-impact look for a comparable budget, plus the advantage of removal without repainting.
Pro Tip
Always keep a small roll of the same wallpaper as a “repair patch.” If a corner gets torn during removal, you can seamlessly re-apply the patch later.
Q: Can I install peel-and-stick wallpaper over textured walls?
A: It’s possible, but textured surfaces can trap air bubbles and prevent a smooth finish. I recommend sanding the area lightly or applying a thin skim coat to create a flatter surface before installation.
Q: How long can removable wallpaper stay on a wall?
A: Most manufacturers guarantee up to 12 months of adhesion on properly prepared walls. In my own projects, I’ve kept the paper on for 18 months with no loss of adhesion, provided the room stays at normal humidity levels.
Q: Will the adhesive damage painted drywall when removed?
A: High-quality removable wallpaper, like the top picks from Wirecutter, is engineered to release without pulling paint. Using heat and a slow pulling motion further protects the surface. Any minor residue can be cleaned with a mild soap solution.
Q: What’s the best way to align patterns on large walls?
A: Start by measuring the center point of the wall and layout a full-width strip there first. Use a laser line or level to keep the top edge straight, then work outward, staggering seams by at least two inches for a seamless look.
Q: Are there eco-friendly peel-and-stick options?
A: Yes. Some brands use PVC-free vinyl and water-based adhesives. Look for certifications like GREENGUARD or the EcoLabel, which indicate lower VOC emissions and recyclable materials.